
Start with how the team will win
A team works when its actions support the same plan. Before choosing four Characters, decide what will do the important damage and what must happen for that damage to land. This is the team’s win condition.
You might concentrate buffs on one attacker, trigger repeated follow-up attacks, exploit damage over time, or create a Weakness Break window. These plans ask different things of their teammates. Two Characters sharing an Element or having high individual damage does not establish that they help one another.
Read the main damage source’s Kit first. Note its scaling stat, targets, activation conditions and resource costs. Then build the team around making those conditions repeatable. A tier placement cannot answer those questions for your roster.
A slot needs a job, not just a role label
A useful starting arrangement is a damage source, allies who enable or amplify it, and enough sustain to survive. This is a planning aid, not a mandatory four-slot formula. One Character can perform several jobs, and some teams distribute their damage across multiple allies.
Scroll horizontally to see all columns.
| Job | What it contributes | What to check |
|---|---|---|
| Damage | Turns the team’s setup into progress. | Does its target coverage and damage pattern fit the fight? |
| Enable | Creates a trigger, resource or usable window. | Does the main plan function without this effect? |
| Amplify | Improves damage through compatible buffs or debuffs. | Which attacks and allies actually receive the benefit? |
| Sustain | Keeps allies alive and able to act. | Can it handle this encounter’s pressure at an affordable cost? |
Do not confuse an amplifier with an enabler. Increasing Break Effect, for example, is not the same as granting a way to deal Super Break damage. If the team lacks the trigger, a larger stat cannot supply it. The Weakness Break guide explains that distinction.
Match support to the damage that matters
Start with the ability’s own scaling. An ATK increase does not directly increase an HP-scaling part of an attack. A bonus restricted to Skill damage does not automatically improve every follow-up triggered by that Skill. Read what the effect applies to, rather than treating every damage-related buff as interchangeable.
Next check the recipient and the trigger. Is the buff for one ally or the whole team? Does it need a debuffed enemy, a certain attack type, or a particular action before it works? A powerful effect with poor uptime can contribute less than a smaller one that covers the team’s decisive attacks.
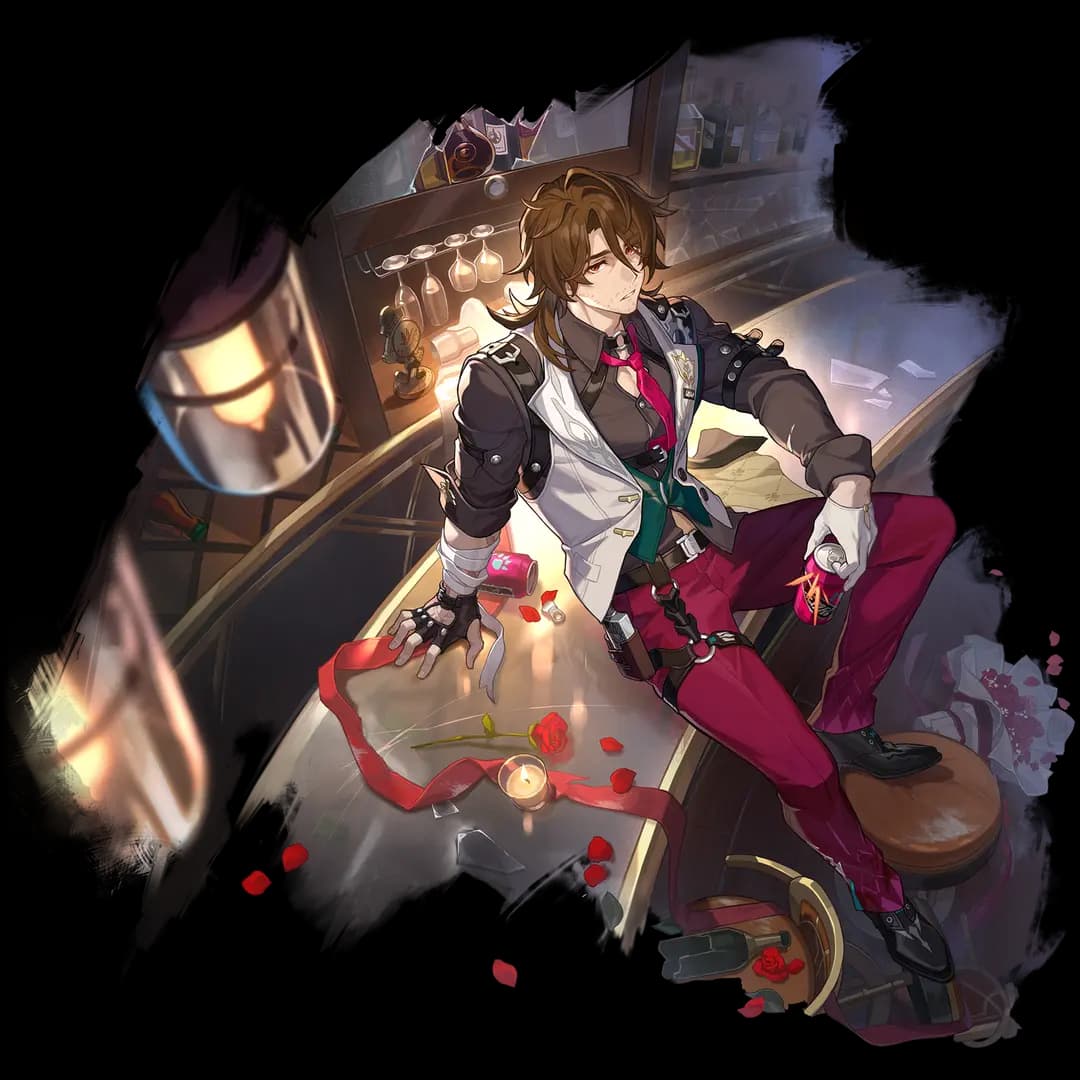
A kit can also combine jobs. Gallagher’s Besotted state helps allies recover HP when attacking an affected enemy and increases the Break damage that enemy takes. Those effects explain why his healing and offensive contribution can serve the same plan.
Read both the benefit and the condition
Besotted needs to be applied to the enemy. Healing through attacking it is a different response from an immediate targeted heal. The Gallagher Kit tab shows the individual actions and conditions. This is a role example, not a recommendation for every team.
Write down an affordable sequence
Plan actions, not just names. Suppose two attackers both want to use a one-point Skill every turn while a support also needs frequent Skills. Even if the fourth ally restores points with Basics, that arrangement may spend faster than it earns. A few strong opening actions can hide a budget that fails later.
Check the Skill Point and Energy requirements of the sequence you intend to play. Leave room for an emergency heal or refresh. A Character called “Skill Point positive” in a guide may not stay positive if your encounter forces them to use more Skills.
Then check action order. A buffer acting after the attack it needed to improve, or an advance creating another unaffordable Skill, can break an otherwise sensible team. Test beyond the first round: buff expiration and a second Ultimate often expose the problem.
Survival is part of damage consistency
A defeated or disabled attacker stops contributing. Sustain therefore buys usable actions, not just a fuller HP bar. Match the protection to what is going wrong: repeated chip damage, a dangerous burst, or a debuff that prevents an essential action.
Healing, shielding, damage reduction and cleansing solve different problems. Check whether the chosen kit supplies the response you need, how often it can supply it, and whether it competes for the same resources as the damage plan.
If your current investment needs more defensive help, use it. Removing protection to imitate a faster clear is useful only when the team can still execute its plan.
The enemy is part of the team-building problem
Check target count, Weaknesses, encounter mechanics and the objective. A setup that spends several actions preparing one large hit can behave very differently against many small targets. A plan built around breaking Toughness needs a reliable way to reduce it in this fight.
Read the current conditions in Endgame Insights before borrowing a result. A successful composition may rely on the stage effect, investment or timing used there. Those assumptions are part of the result.
Change the part that is failing
- If the key attack is unavailable, inspect its resource or activation condition.
- If it lands unbuffed, inspect timing, recipients and effect duration.
- If an ally repeatedly falls, inspect the defensive response before adding damage.
- If the sequence works but clears poorly, inspect target coverage and investment.
Use Team Comp Finder to explore combinations and Team Rankings to examine observed results. Character Guide tabs provide the detailed rotations. Keep this guide’s question in view while using them: what does each ally do to make the team’s plan work?